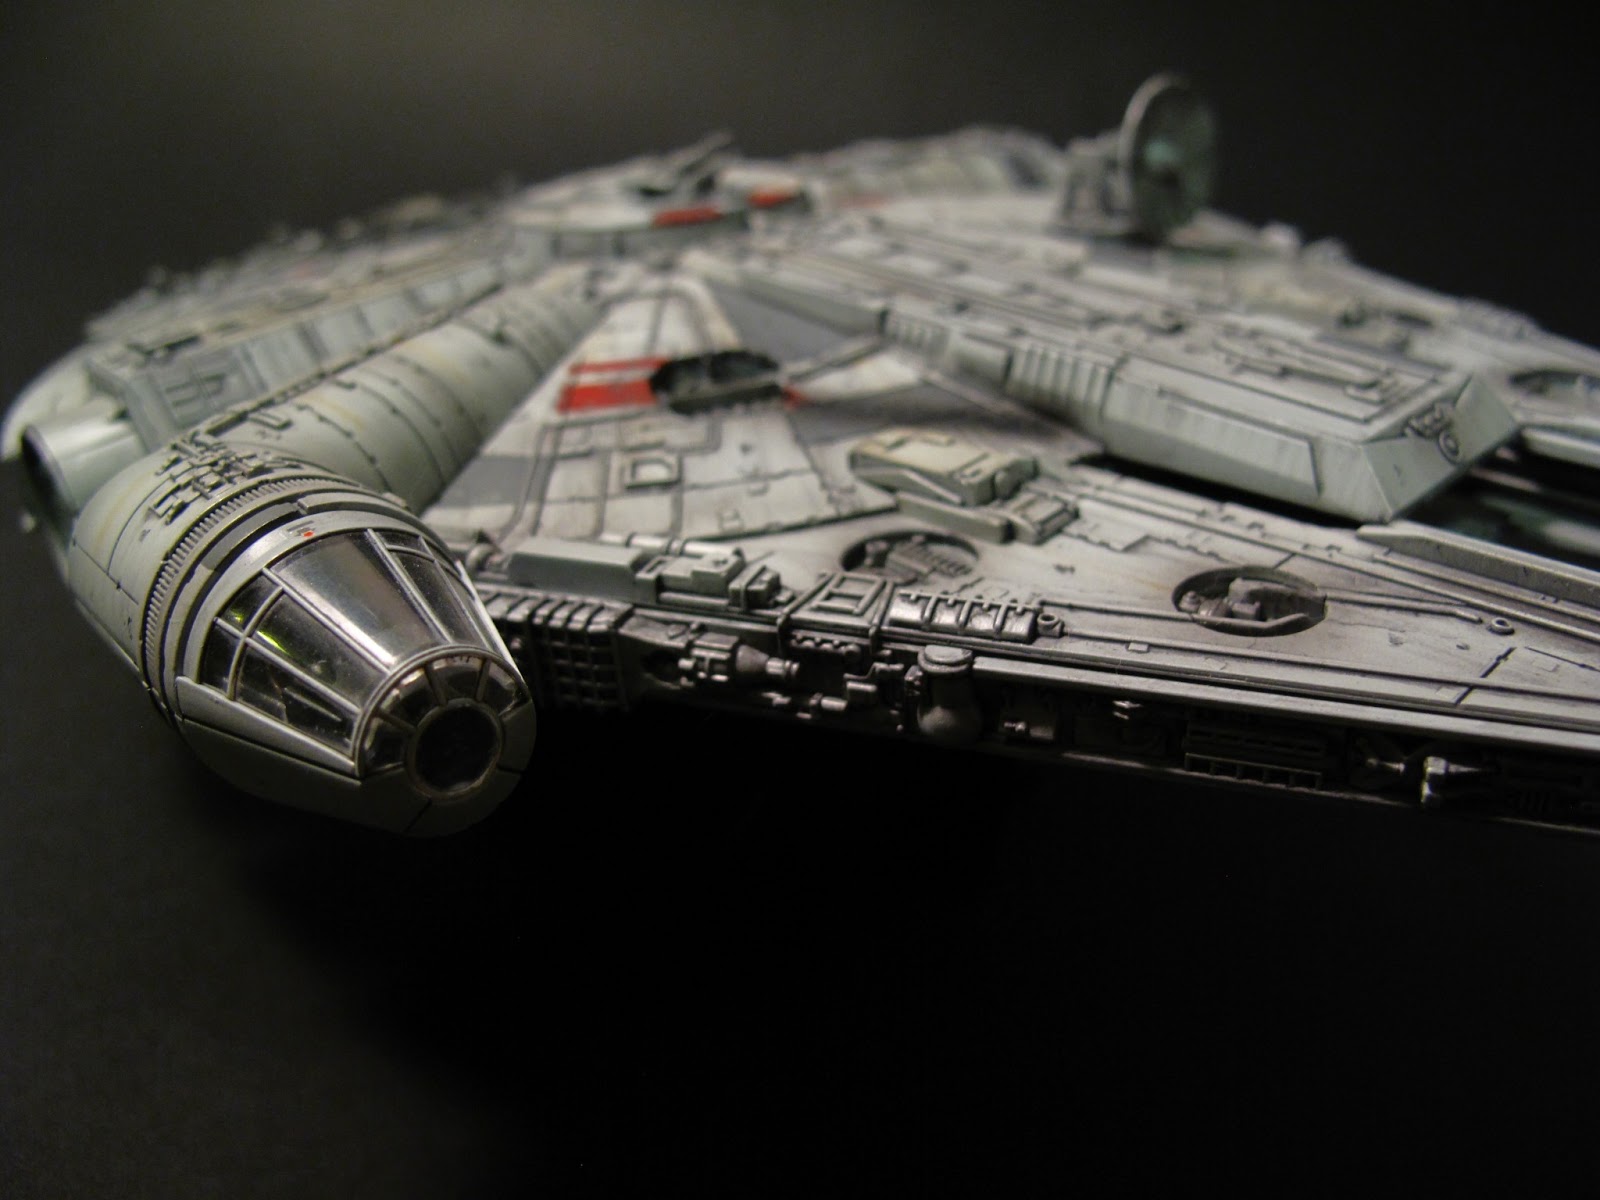
With the basic color complete, the next stage is to give the Falcon a "Star Wars" feel...the surface finishing. Looking at the reference pictures the oil marks, or burnt marks, on the Falcon has a kind of spreading pattern, like a firework going off at the turrents and the marks just spreading out. Normally what I would is paint the panel lines first, then draw the burnt marks on the surface one by one and then lighten them up with a cotton tip with thinner. Though this time I decided to try something different.
I decided to give the whole surface of the Falcon a gray wash (with Tamiya's XF-63 German grey), and then cleaning the excess paint and creating the burnt makrs with a cotton tip at the same time. The result is surprising well, as the picture shows when it is in progress.(Only the far corner and part of the rear is done)
In addition to the gray marks, there are also a bit of brown makrs on the Falcon, and with the gray wash done, the brown marks can only be added one by one, fortunately there aren't alot to add. Ones the surface are completed, the darker burnt marks: the bullet holes and the exhaust can be added by gently aurbrushing some black onto the surface.
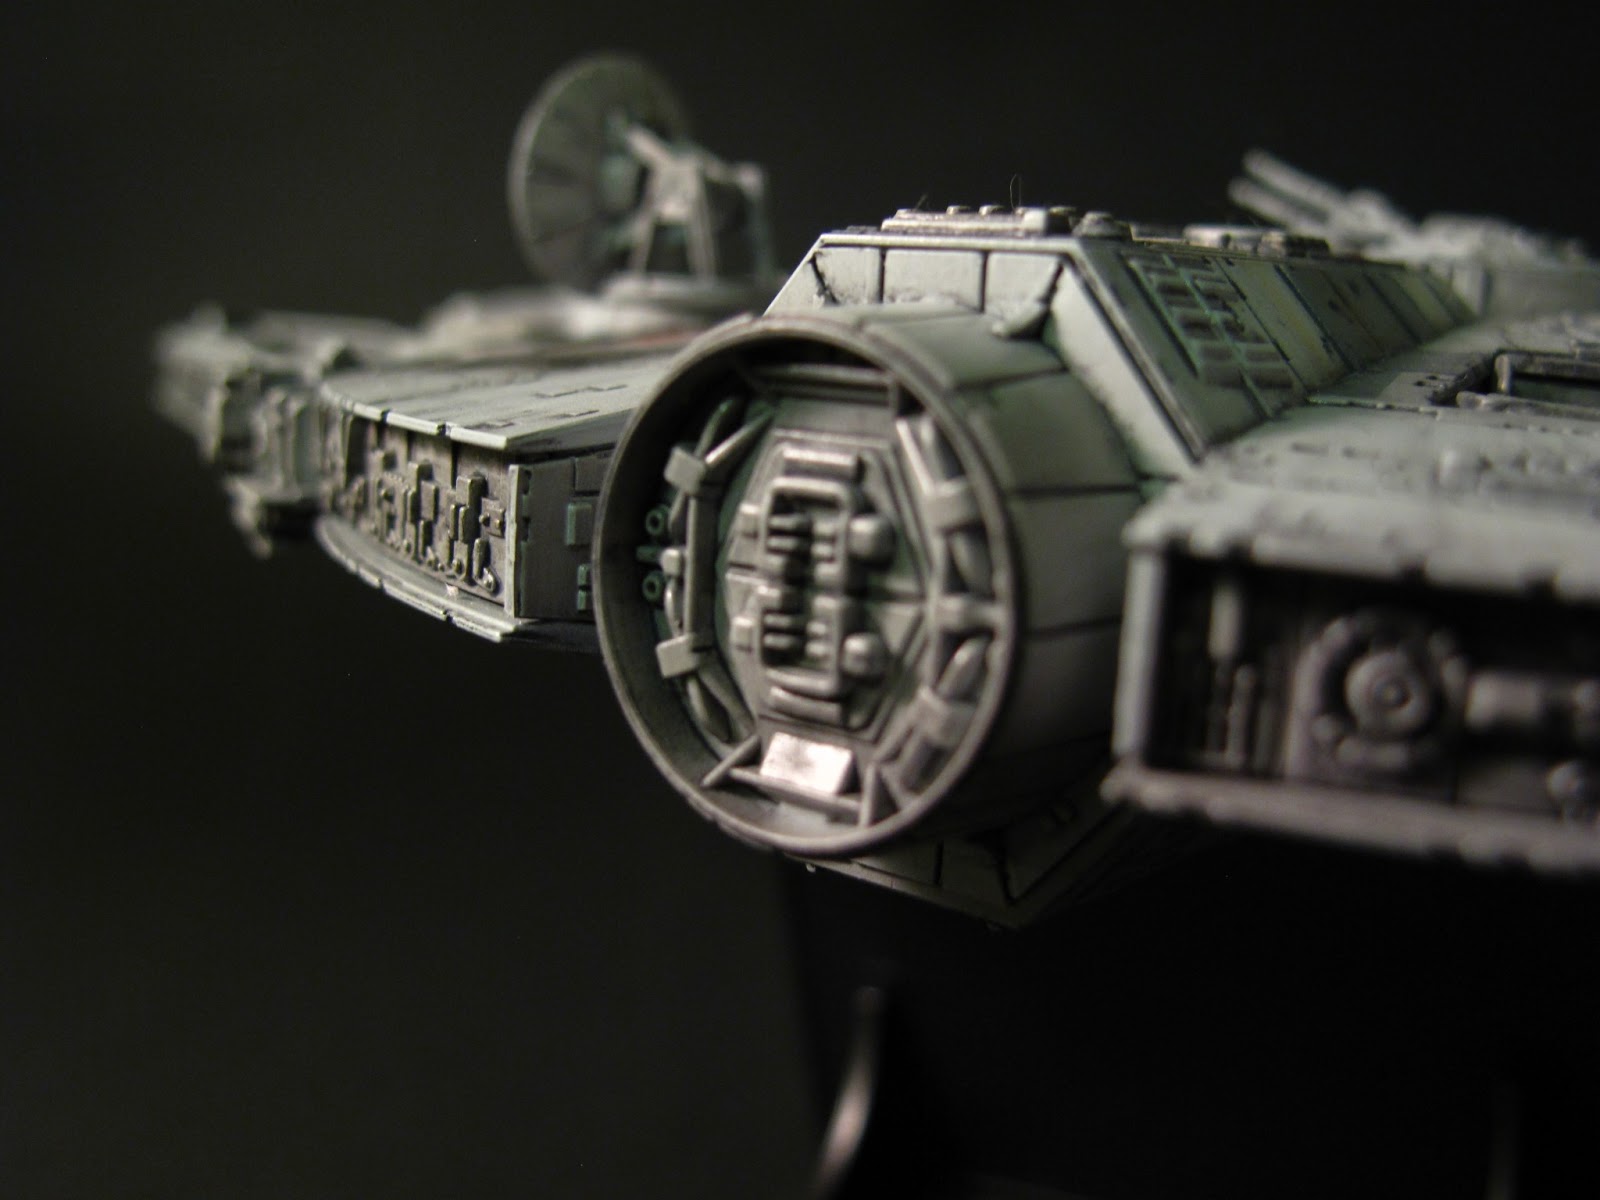
The other side:
A close up on the bullet hole:
and the scratch marks done before...
The overall results feels good, but if I can do it again, I would have choosen a lighter gray for the panel lines.
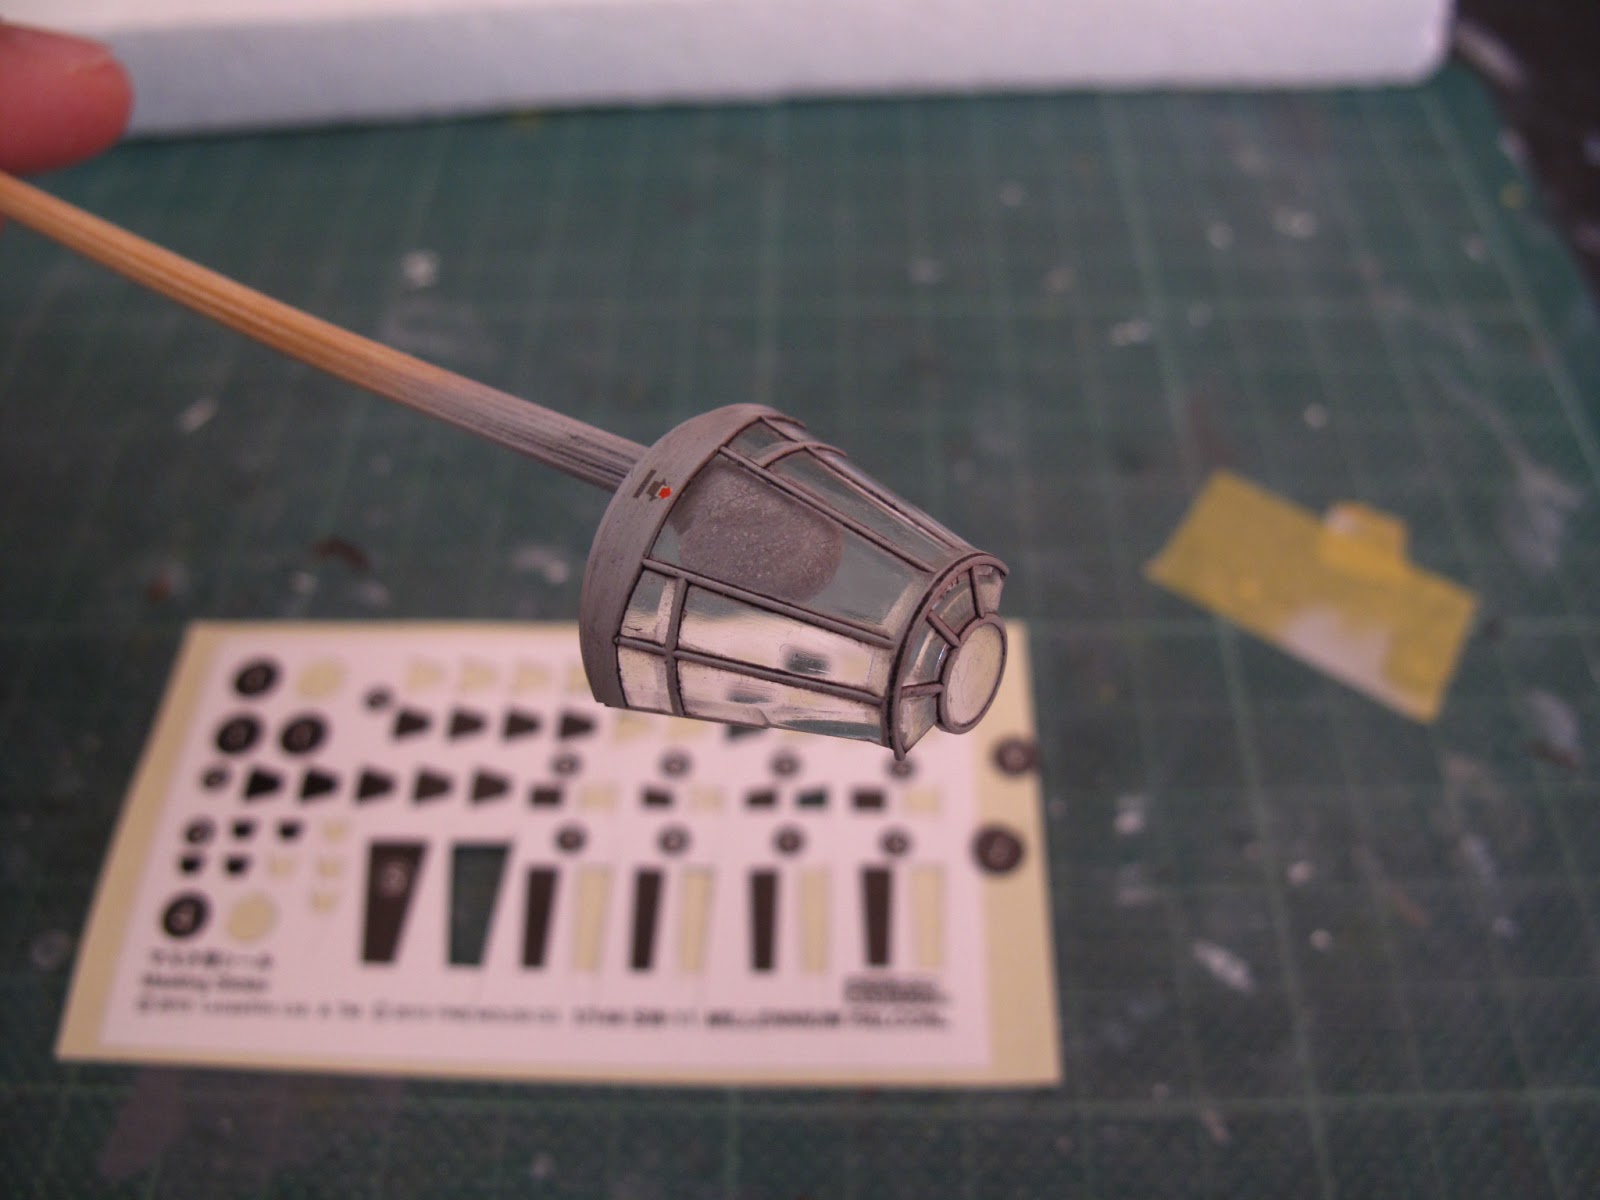
Next is the cockpit, pretty straight forward. Unfortunately Fine Molds did not include decals for the interior, so I used some Gundam Decals, trim it down a bit, and stick it on where the switches should be:
The final part of the paint is the cockpit and turrent windows. Fine Molds has included a set of masking stickers......only you have to cut it yourself.......makes me wonder is it really expensive to get one of those cutting machines?
The red arrow at the top is from a Gundam Decal.
Finally putting the seat in the turrent.
Next will be the finishing pictures!