Monday 17 December 2012

BMW Z4 GT3 Miku Hatsune - 1/24 Fujimi (Complete)

Ladies and gentlemen, the BMW Z4 GT3 Miku version:


Afterthought:
This is not the first time I worked with so many decals, and not the first time to do a mirror finish on a kit, but it's just the second time I've built a car. (Well technically it's the 3rd, I've built a Cyber Formula kit 10 years ago.) Quite an interesting experience with the PE stuff, and thankfully it looked great. I think I have mentioned this before, but by the time I am typing this, a month has already gone since the kit is complete, so what did I do in the mean time? Built another kit! And it's a famous Sci-Fi one.....with a strong Force....


Sunday 16 December 2012

BMW Z4 GT3 Miku Hatsune - 1/24 Fujimi (7)

Still on the decals, my last entry was like a week ago, but this has actually taken me 2 weeks to do it. (Somewhere in late October 2012, about 4 months into the build)


The carbon fiber decals that came with the kit doesn't look close to the real thing, so I used some after market decal. For the front side grill, I just cut a small piece and apply it on, then trim it afterwards.

...and how it looks after I trimmed it. The other side wasn't so lucky, it too 2 tries before i got it right. 

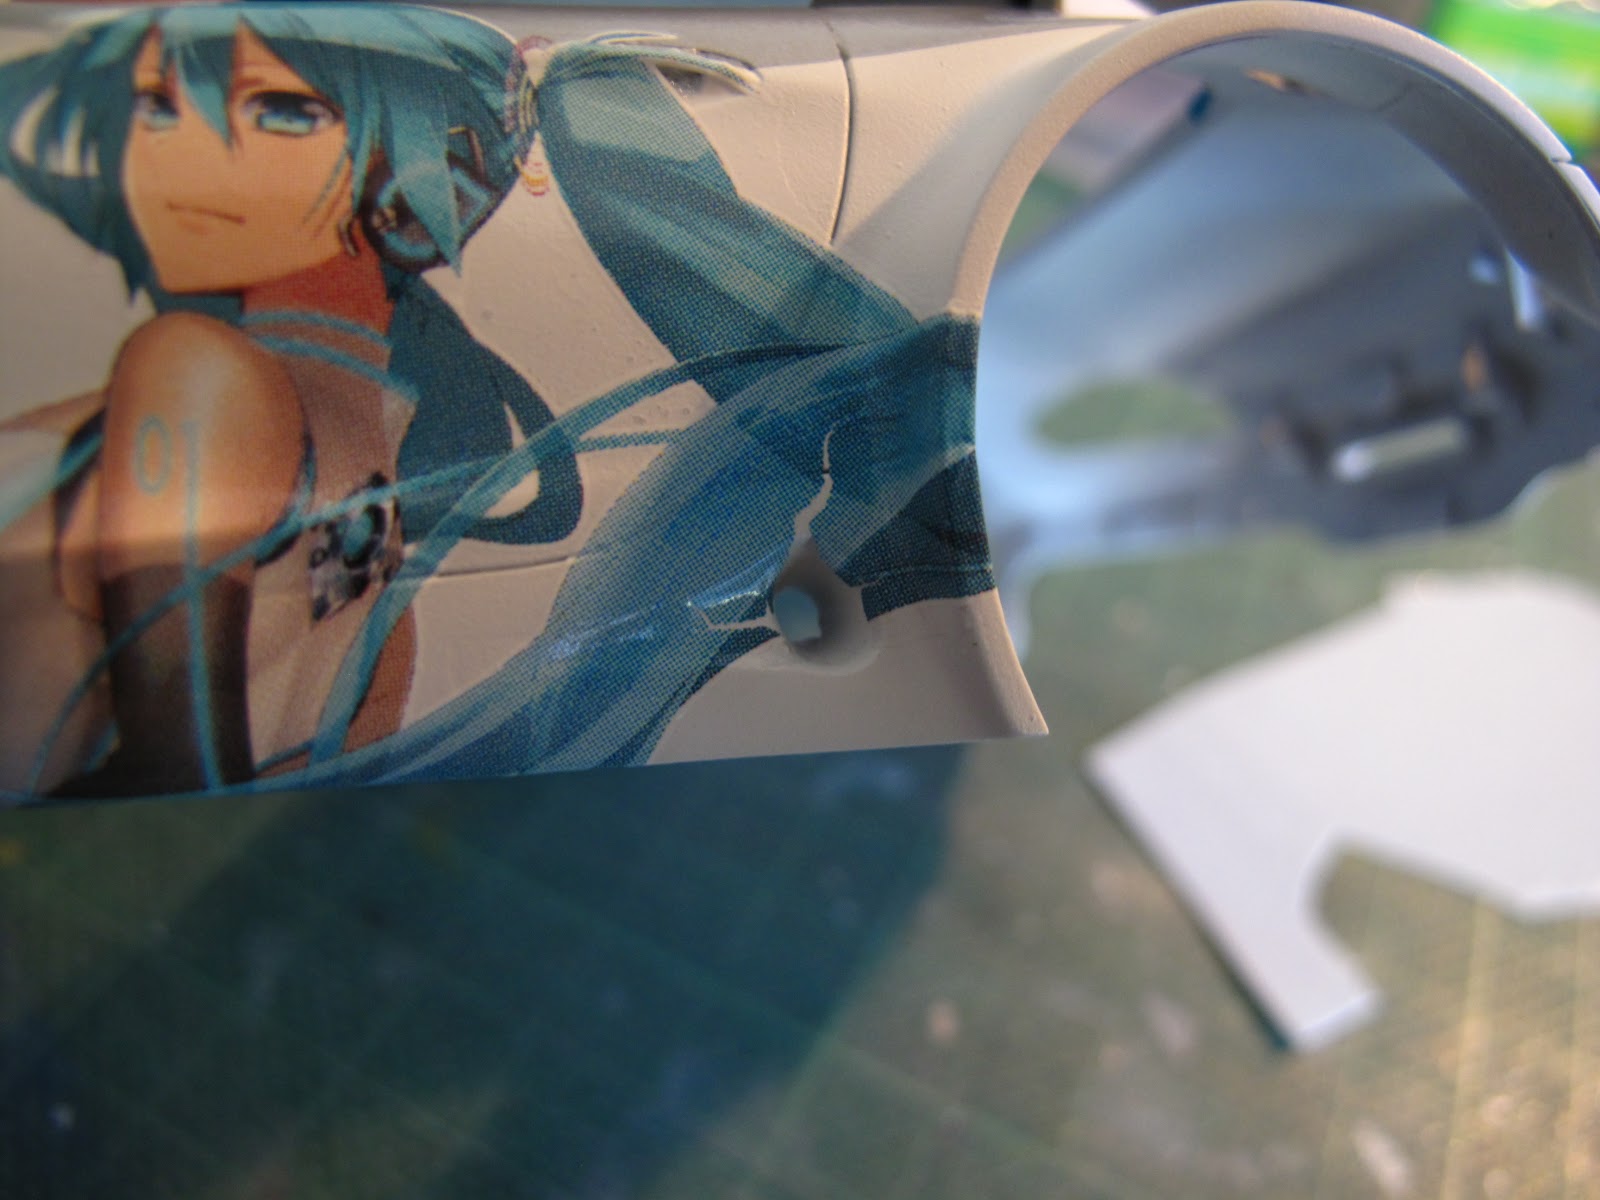
Painting the windows, nothing special here, pretty direct work. The rounds edges are covered using masking solution, works better than cutting a round corner on the masking tape. 

A coat of clear coat after applying the decals, and bit of polish (using Tamiya's compound: coarse, fine, then finish) and it's done.

For the polishing of the body, I tried Mr Hobby's compound. Compared with Tamiya's, they are a bit more liquid~y. Personally I'm not quite used to it, still the finish looks good. 

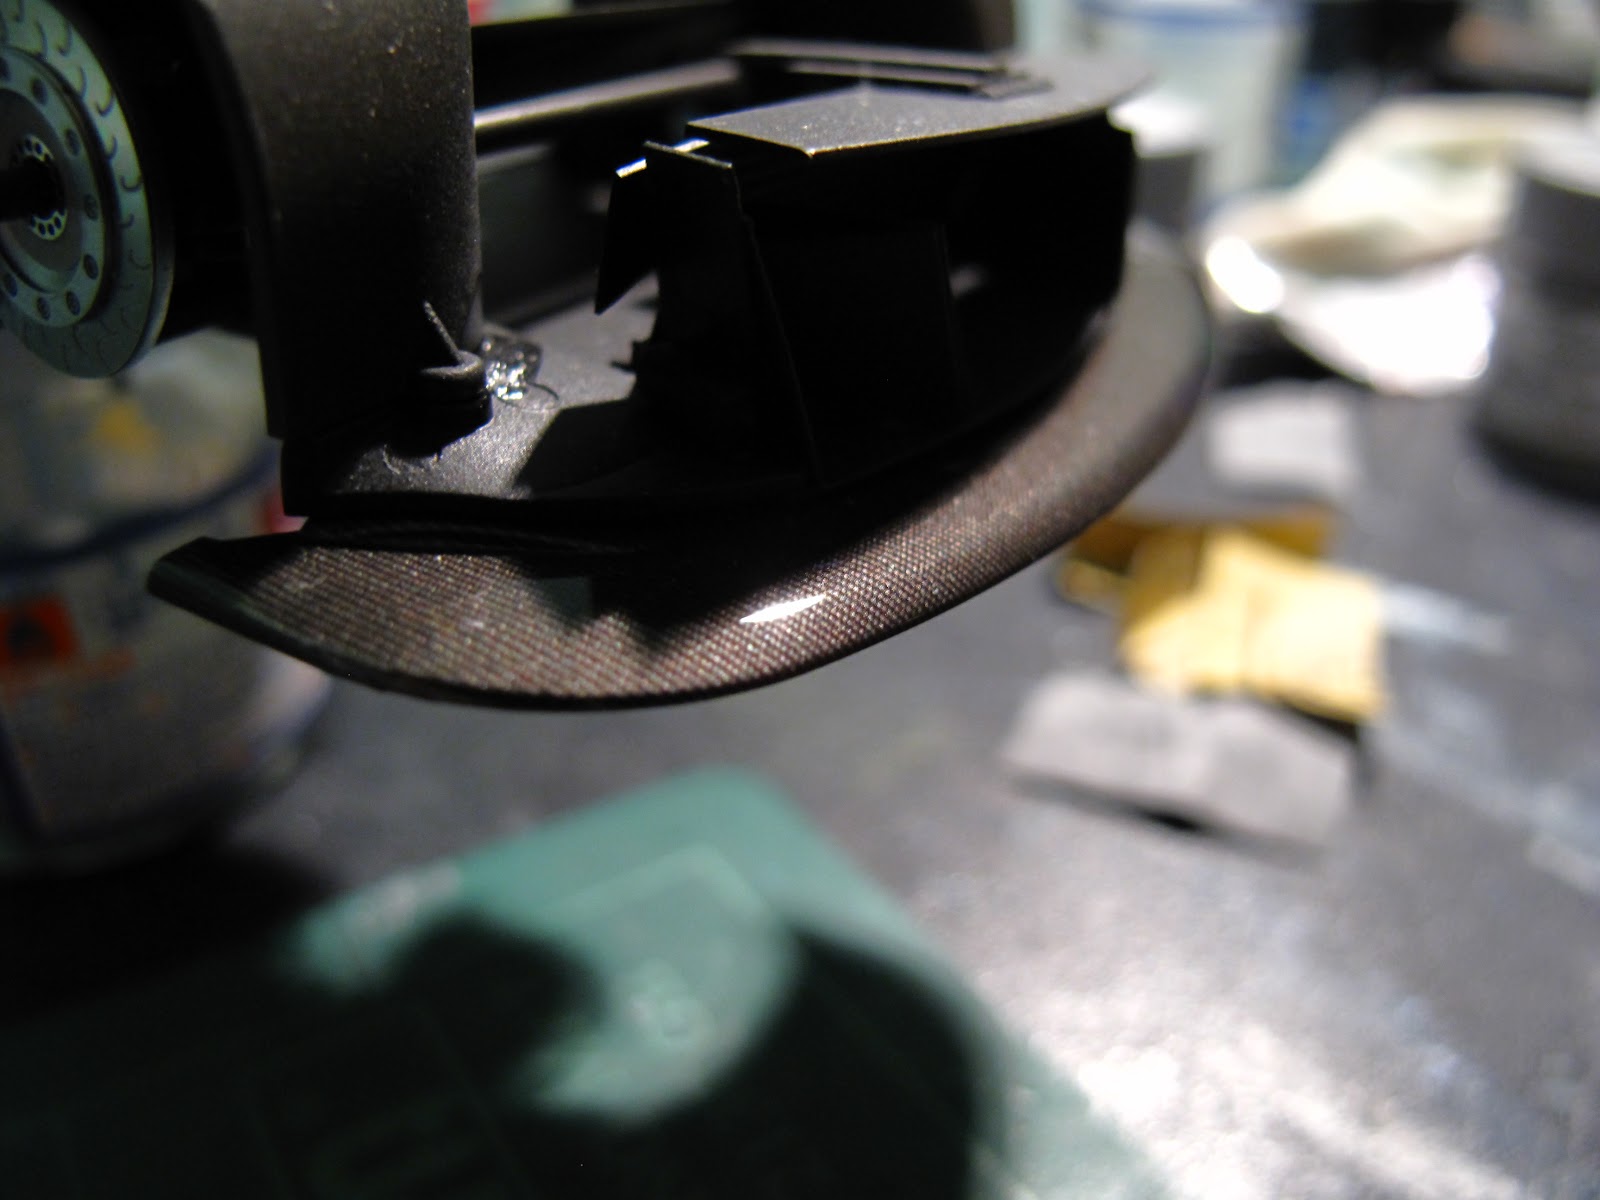
The front wing, with carbon fiber decal and polished. 

Side mirrors:

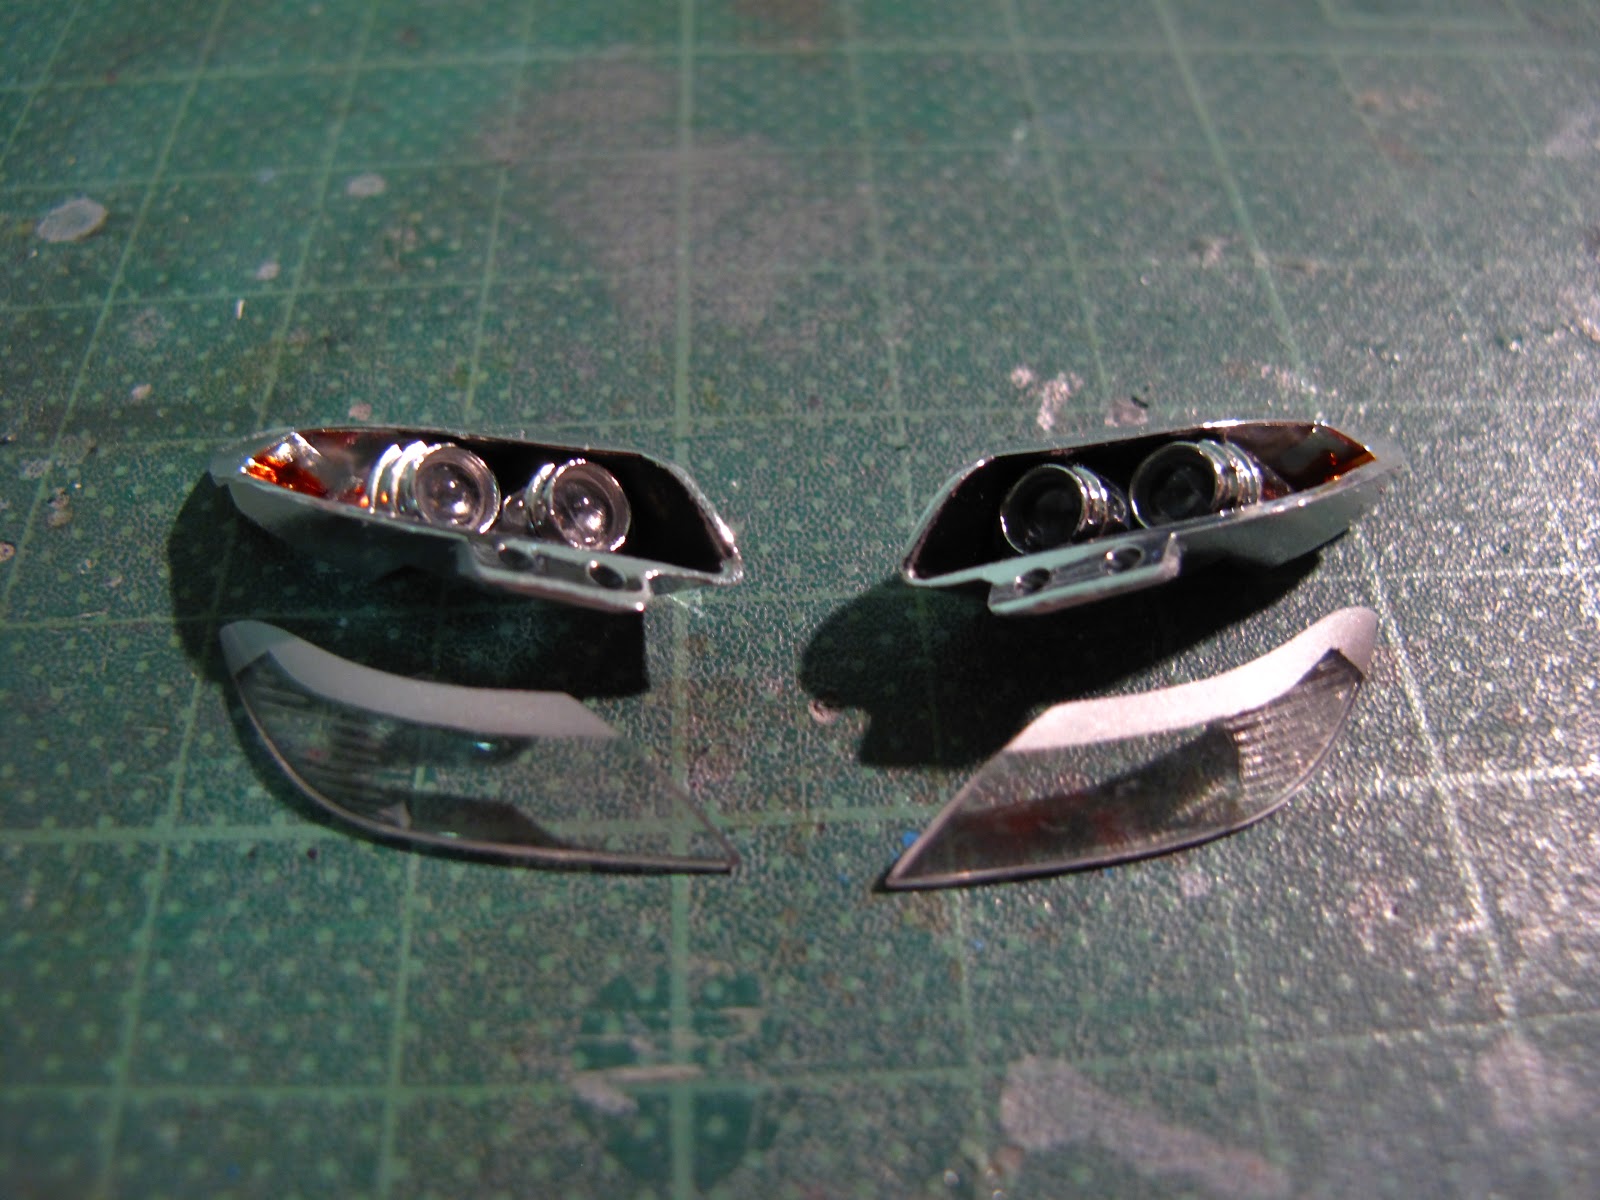
and head lamps, I painted the silver part on the lamp lid instead of using the decal provided, to keep it consistent with the silver stripes on the body.

Near the end of polishing, and this with where disaster strikes. I was painting the 2 black bits behind the wheel, I masked it, painted it, and when I rip off the mask, so does some of the sponsor decals. (You notice the "ZENRIN" decal missing here? The other side is worse......4 more there) The polishing has thinned the clear coat to a point where it cannot protect the decals. Note to self, next time should get a few more coats.

Anyway, this means I have to get another kit if I want the decals back, but since I've bought the Red Bull decals, I'll need another kit, so.....it's kind of a win-win situation. (The lose is on my wallet though....)

And while waiting for the new kit to arrive, I fitted the rear mesh and exhaust to the rear.


The PE parts also include the wind wipers. The base bit is from the kit, the PE included it as well but they are just 2 small to work with. 

and the tires, template from Turner Model Factory.


So basically the whole kit is complete, altogether it took 4.5 months. Next time I will post the photos of the finish product. 


Sunday 9 December 2012

BMW Z4 GT3 Miku Hatsune - 1/24 Fujimi (6)

Finally it's the paint job, personally I think this is the hardest part, it took me 3 weeks all together just to put the paint and decals on, and polish to mirror-like surface.

The base paint is simple, White. I had also paint the black rims around the windows first.


From what I saw online, people have been saying the Miku decal and the silver strip does not match perfectly, there is some overlapping. My first thought is: how much is overlapped? Small enough so it can be moved slightly to align? Or have to be trimmed completely? So I photocopied the decal and give it a try:


Turns out the overlapping part is a bit more than I thought.....


There are 2 options now: One is to spray the silver stripe first, then trim the decal to fit. I wasn't too confident with trimming the decal, so I go for the second option, which is...

Put the decal on first:

Then paint the silver decal! Here's the rear two stripes at work:

Applying them on, looks good, Thankfully!

Next is the side decal. One problem here is the "hole" at the bottom corner, it's quite a curvy one, and Fujimi's decals are a bit thick, so once it dries up, even after using softener, disaster struck......


Luckily there are bits and pieces left from the decal. Here it's the extra Miku for the bonnet:

and the end result, looks pretty good!

The extra Miku decal is really the savior of the kit, it provides just enough to fix here and there. Smart thinking Fujimi!

I'll save some more on decals for next time.....


BMW Z4 GT3 Miku Hatsune - 1/24 Fujimi (5)

Of all the photos I could find, the exhaust has the least of them, so making it requires more guess-work than other parts; but in the end, it's at the rear of the car, with most of it covered by the body and the mesh, so I wasn't really worry about the accuracy of the part....


Next will be the painting, I'll put that in a separate part. 

Monday 3 December 2012

BMW Z4 GT3 Miku Hatsune - 1/24 Fujimi (4)

Working on the inside....
The interior of the kit is pretty basic, Fujimi kept it simple. Quite understandable as once the cover is on most of the interior will be covered (at least I thought). So apart from the seat and seat belt, the rest are just straight built.

The inside: first white, then mask it and spray the black on

The dashboard, the tank and fuel pipe

I covered the pipe in tin foil, saw it from other websites. The tank is a bit of a disaster, for those who have built the kit, you may notice the label on the tank is different....you're correct...I screwed the decal, the one used is a Wave replacement, looks close enough...

Now putting everything together, the seat belt was kind of an experiment. At first I bought a seatbelt PE set from Crazy Modeler, the buckles look good, but the belt they provided is paper.......to make matters worse, the paint won't stick on, so........a replacement is used....Electric tape! It worked surprisingly well! It's a tape so sticking the PE part on is easy. The color is just what I need so I don't even bother coloring, did put on a flat coat though after applying the belt decal


I also managed to work on the brake discs. PE parts, no trouble there.

Next time: The exhaust!